Next, in PanelBuilder Edit Mode, double click on your list widget. You should see its config options. Find the "selected param OID" field, and use "selectedOID" as it's entry.
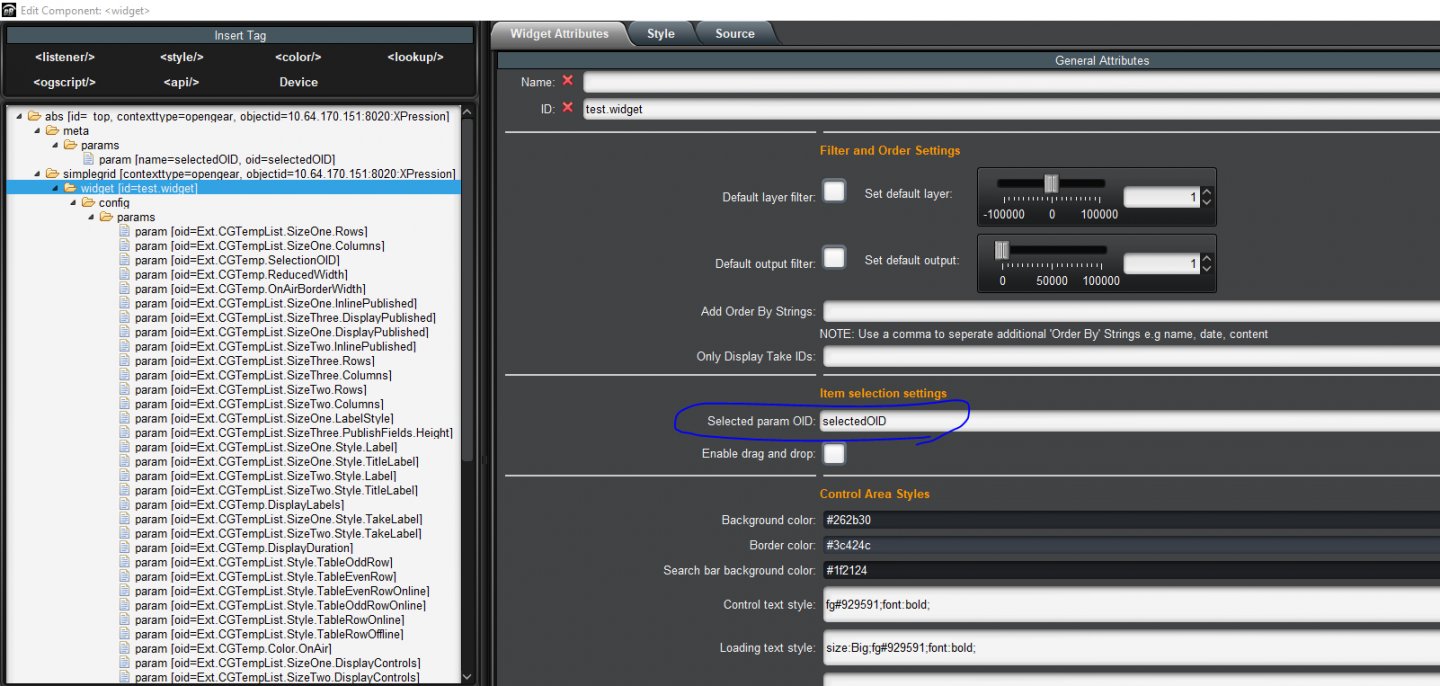
Now, when you select different items in your list, that parameter should automatically update to the take item you just selected.
We can now use this to make buttons that cue or take the selected item. Let's make 2 buttons. They have the following definition:
Button 1:
<button buttontype="push" gpi="ctrlshiftc" height="54" left="63" name="doCue - CtrlShiftC" top="58" width="209">
<task tasktype="ogscript">
params.executeCommand("cmds.cue", {"takeid": params.getValue('selectedOID', 0)}, null);
</task>
</button>
Button 2:
<button buttontype="push" gpi="dotake" height="42" left="67" name="doTake - Ctrl-Enter" top="117" width="204">
<task tasktype="ogscript">
params.executeCommand("cmds.take", {"takeid": params.getValue('selectedOID', 0)}, null);
</task>
</button>
If you click on the buttons, they will cue or take the selected item to air. If you don't want them visible in the panel, you can set their "visible" attribute to "false". They will still trigger via a GPI trigger even if they are invisible.
You can then use the method in the first post I posted to trigger their GPI on keypresses. The first one has a gpi trigger of "ctrlshiftc", and the second one has "dotake".
And that is how you can make your own panel that looks like the original XP panel, but responds to keyboard commands. Sorry for the extra long post. I wish there was a simpler way.
#DashBoard