Hi again Whit! And nice to see you're gonna ease into DashBoard!
You and me are basically trying to make somewhat the same thing so...
First, I am wondering if you are using the "RossTalk" og the "ogScript" part of the task creator?
I would highly recommend going for the ogScript part. I've been trying the other part, but I find it a bit too tedious, it works, but not as clever as the ogScript part.
But let's get back to your idea there.
What you are trying to do is to create some toggle buttons that lets you toggle graphics on/off.
From what I can gather, you want one button for each graphic. Ok! Cool, let's do this then!
What we need:
3 toggle buttons, each one controlling an individual graphic/sequence in Xpression.
For this we need 3 parameters so we can read on/off state in DashBoard.
We need to know the sequence IDs of the different graphics. Let's assume they are 81, 82 and 83 for this example.
We need to know the IP of the Xpression machine (localhost in this example, running both on the same machine) and the port for RossTalk commands (default 7788).
Note:
If you have the DashBoard/Xpression API intergration, this can be done even more gracefully, but I do not yet have access to that. However much i want it... #sadface. So we cannot read if the graphics IS online or not in Xpression and set our buttons state based on that.
So let's get to it:
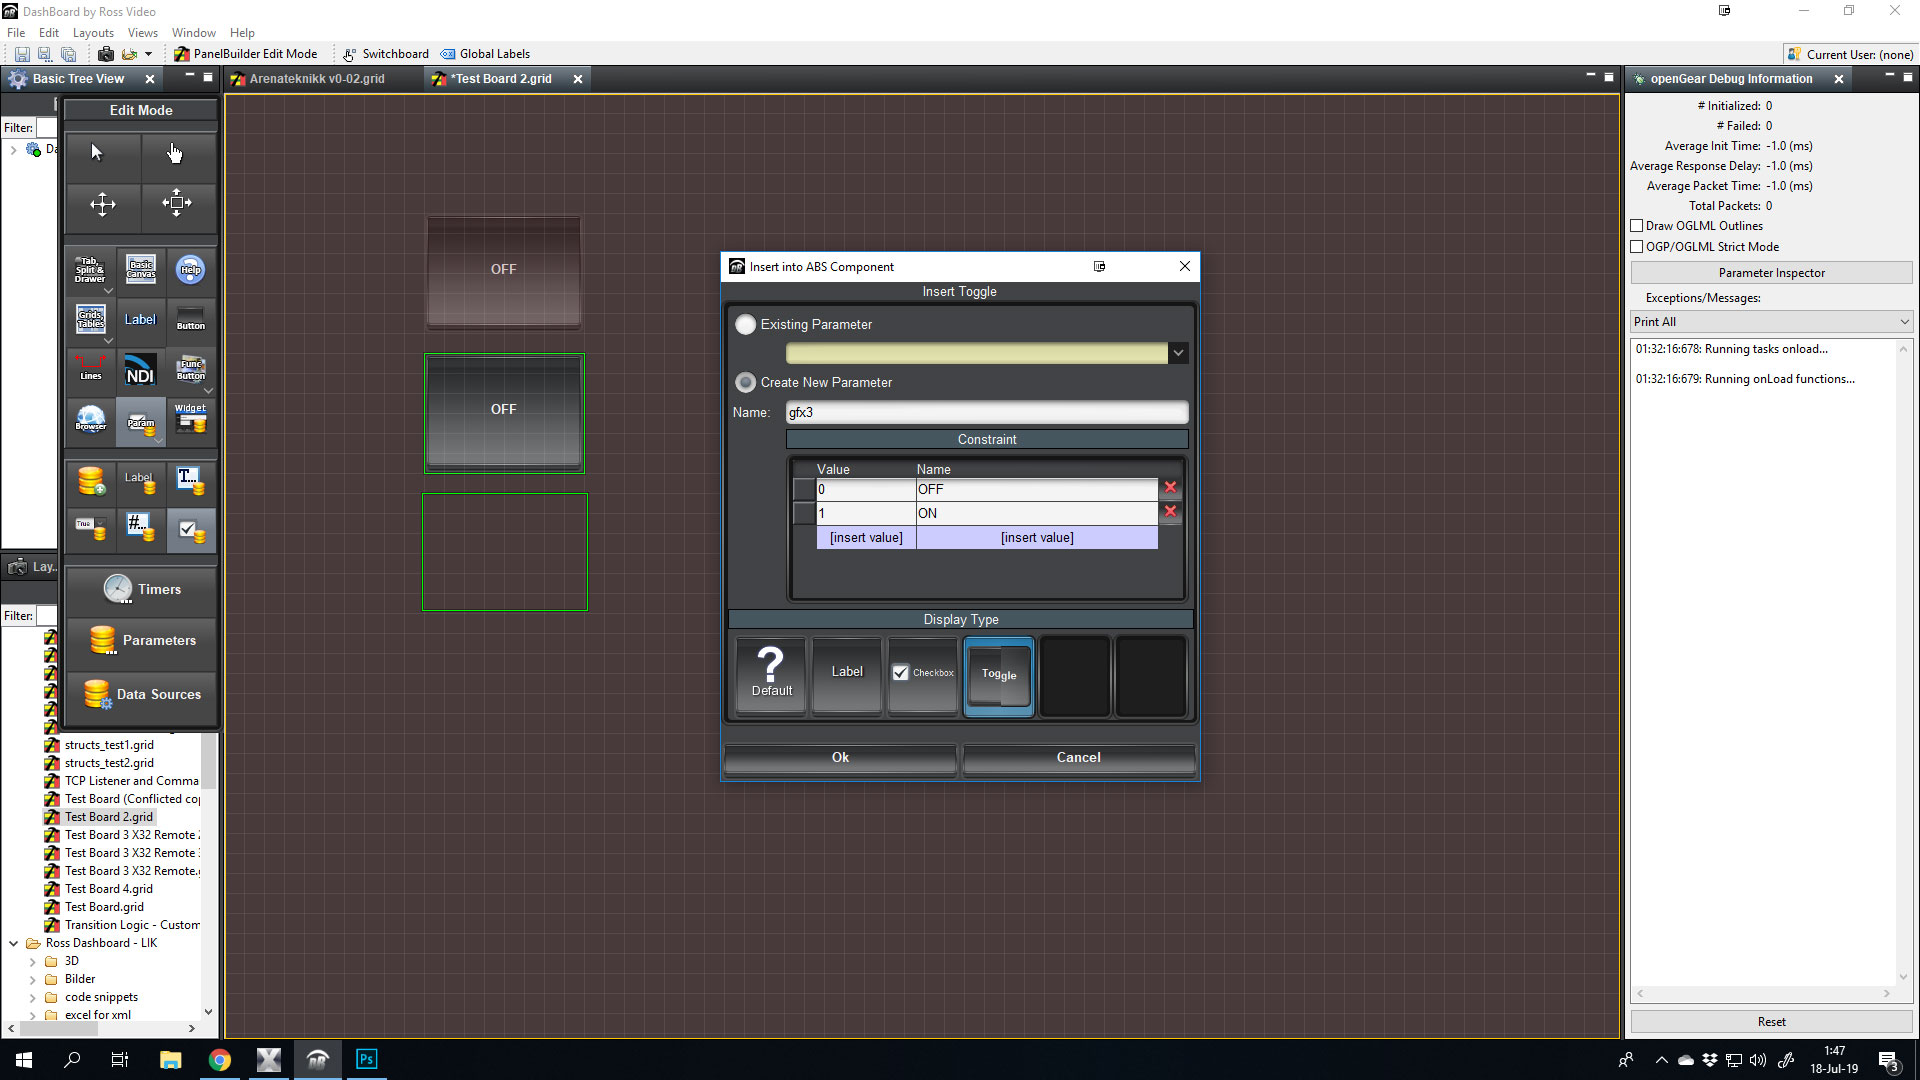
Create three toggle choice parameter buttons. Let's name the paramters gfx1, gfx2 and gfx3.
We could make a normal "button" and set it to a toggle appereance. However the problem with this is that you will never know what state the button is in. There is no way to get the current state of a regular button. With a parameter choice, it will allways be 1 of 2 options.
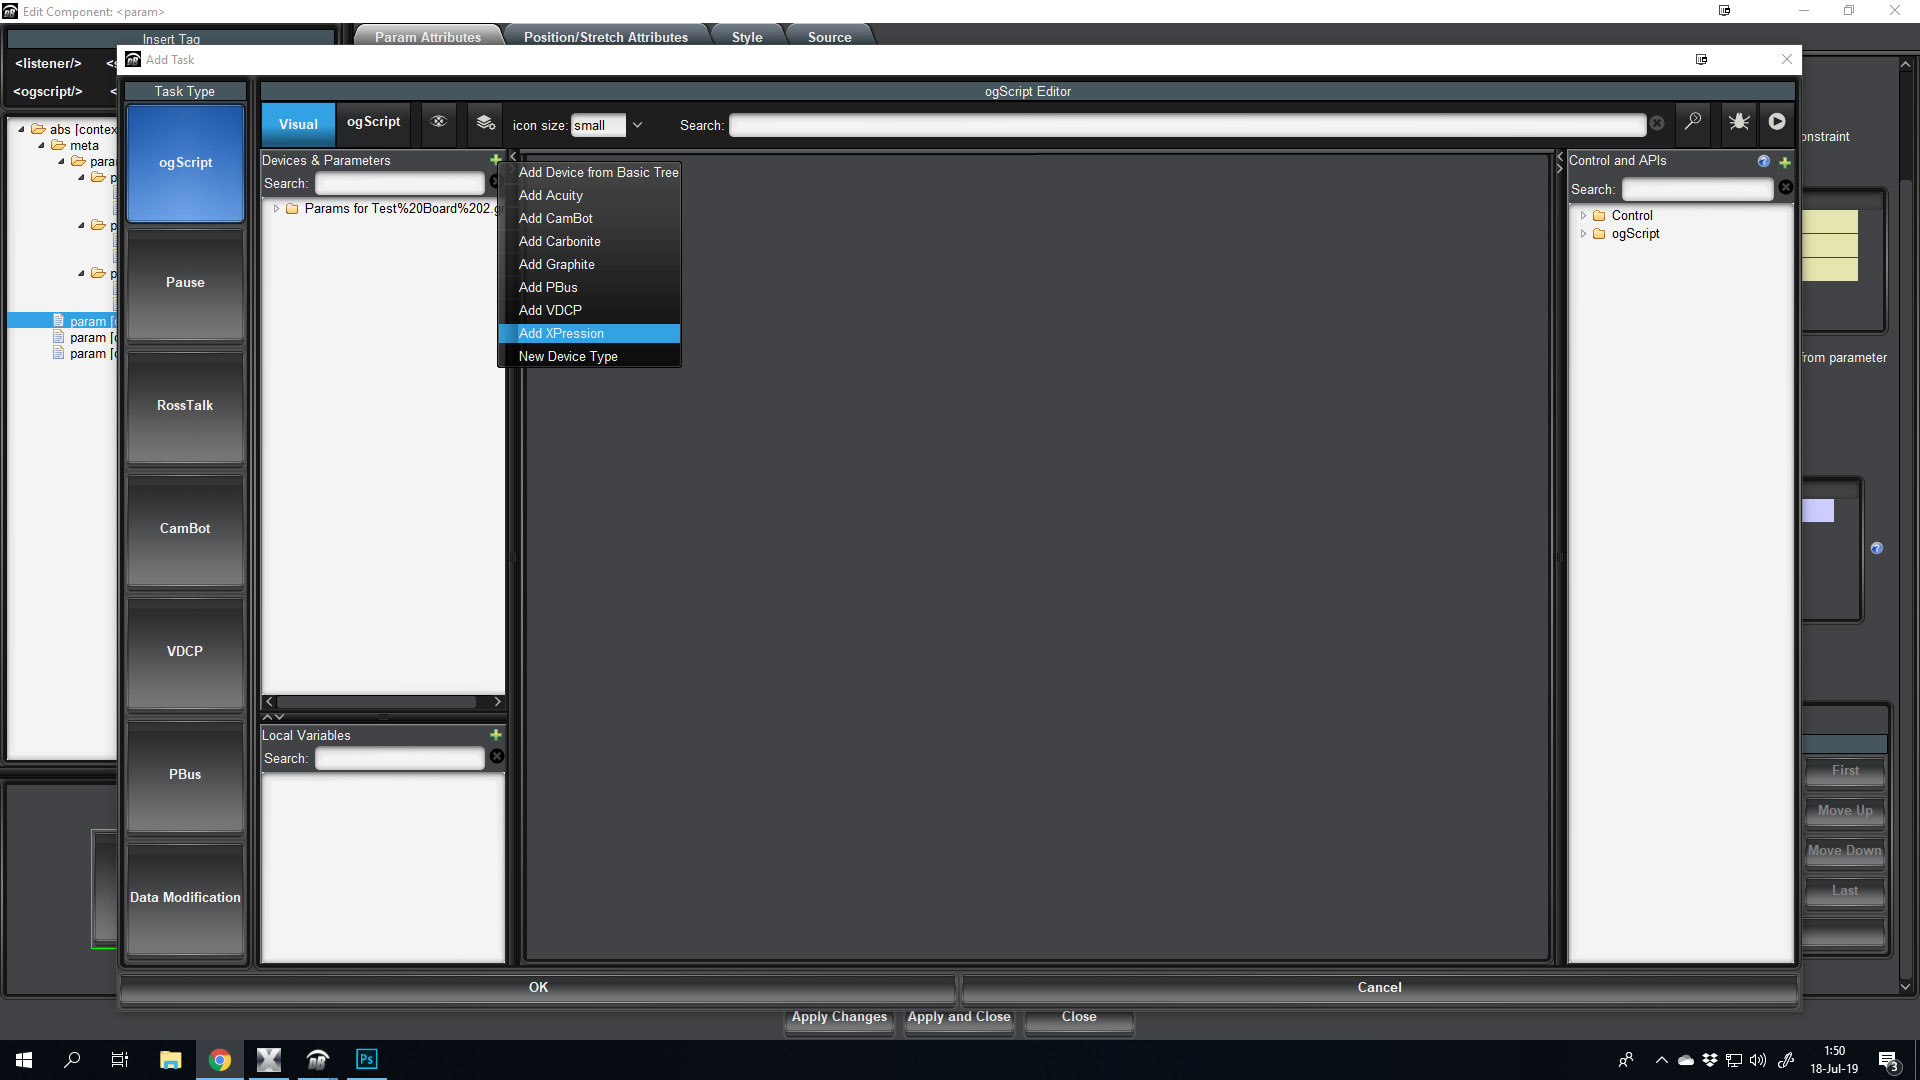
Let's add a task, and add Xpression as a machine in the ogScript part:
Dboule click on the first button for GFX1, and add a new task.
In the "Add Task part, stay on ogScript, and click the green button next to Devices & Parameters, then "Add Xpression".
- If you do NOT have the Xpression/DashBoard API module, then just use RossTalk. If you do have it, then I have no experience with it, but I guess then you use the RossTalkEX part. I will use regular RossTalk.
- Give the Xpression a name. I will name it Local_XPR.
- For IP I will enter "localhost" since I'm running them on the same machine.
- RossTalk port I will leave at 7788.
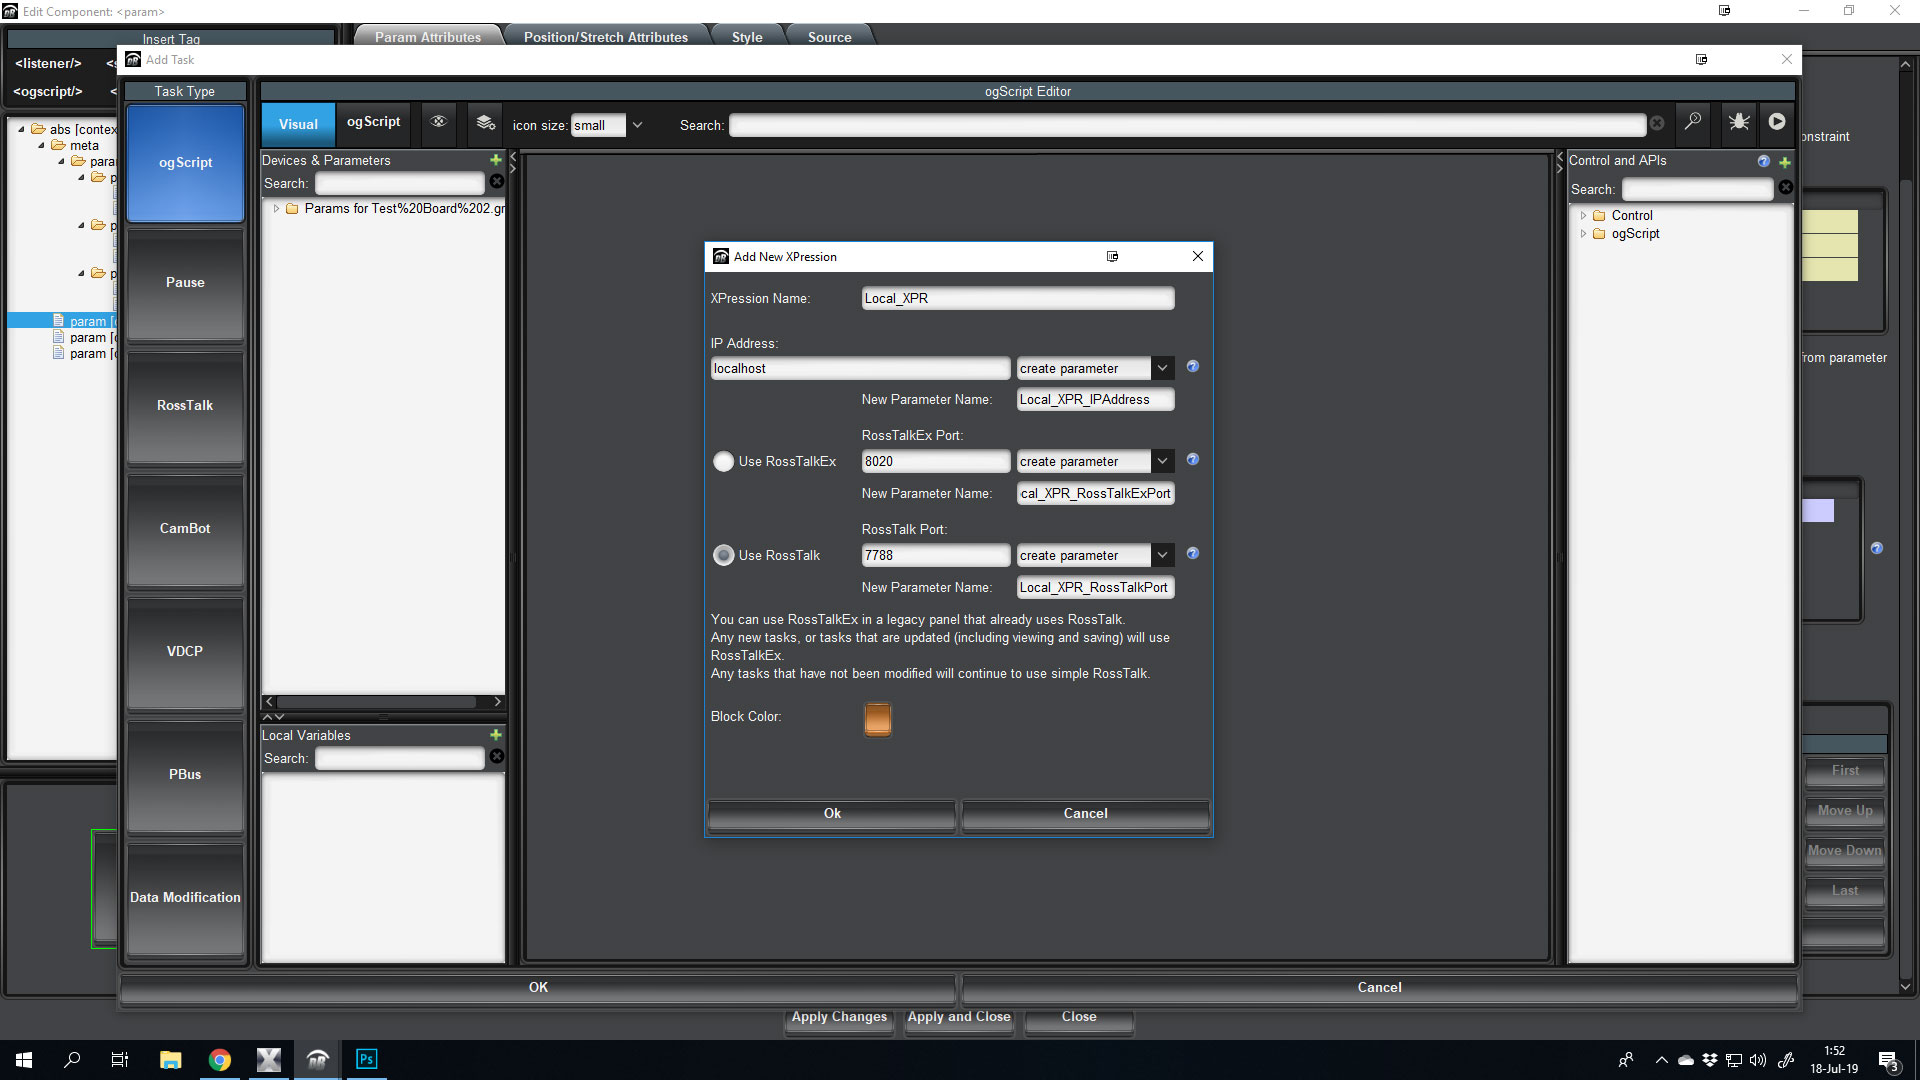
This will add "Local_XPR" as a folder under "Devices & Parameters".
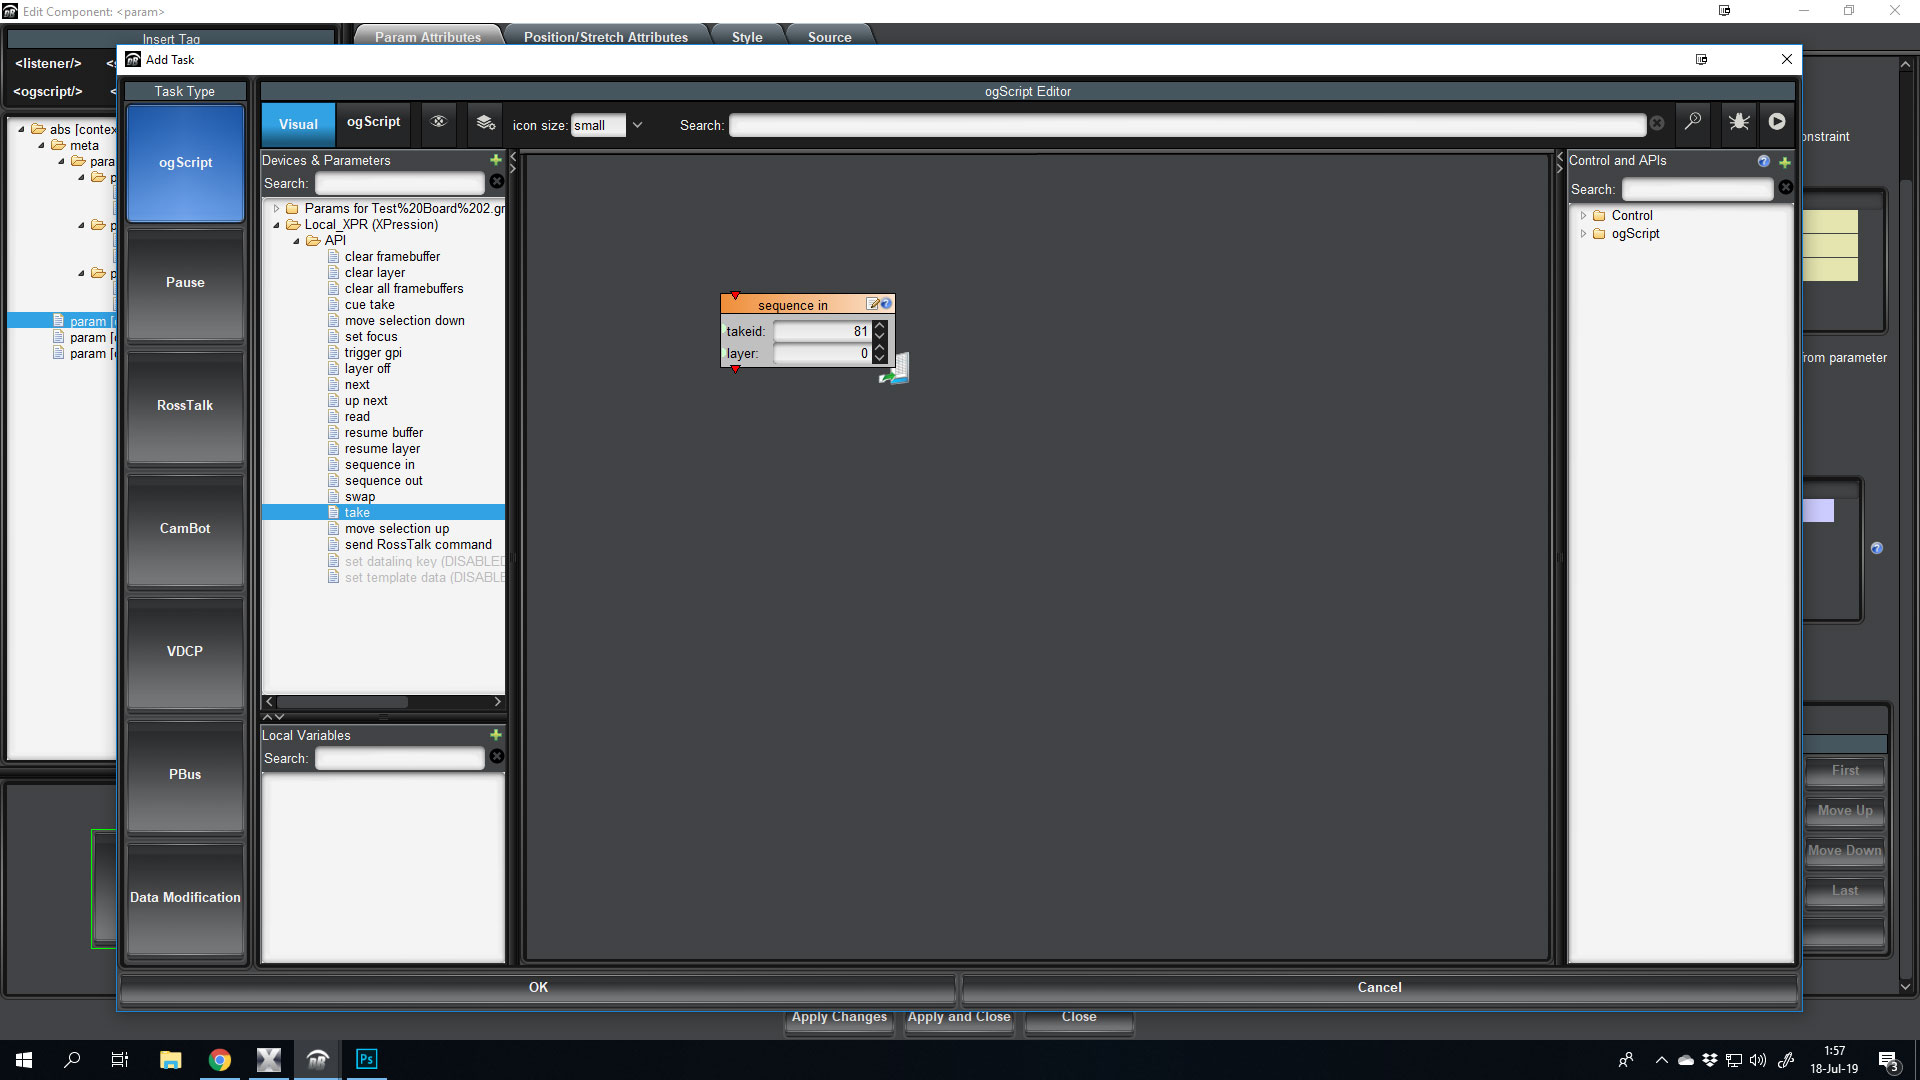
If you open that folder, and the following API folder, you will see all the available commands for Xpression using RossTalk (last two are greyed out, as they require RossTalkEX).
Now, if you pull in the "sequence in" into the Visual Logic Part, you will be able to enter two values. Takeid and layer. Enter takeid 81 and layer 0. Now you have a button that for every time you press it will take sequence 81 in on layer 0, on the framebuffer that sequence has defined in the Sequencer in Xpression.
(The "take" command also lets you specify the framebuffer).
But that does not help with taking a scene on/off, as all this button will do, regardless of it's state is to take sequence in.
But this is where the fun comes in. If you now go back into the button, and click on the "ogScript" part next to visual, we can see what this little snippet of code does.
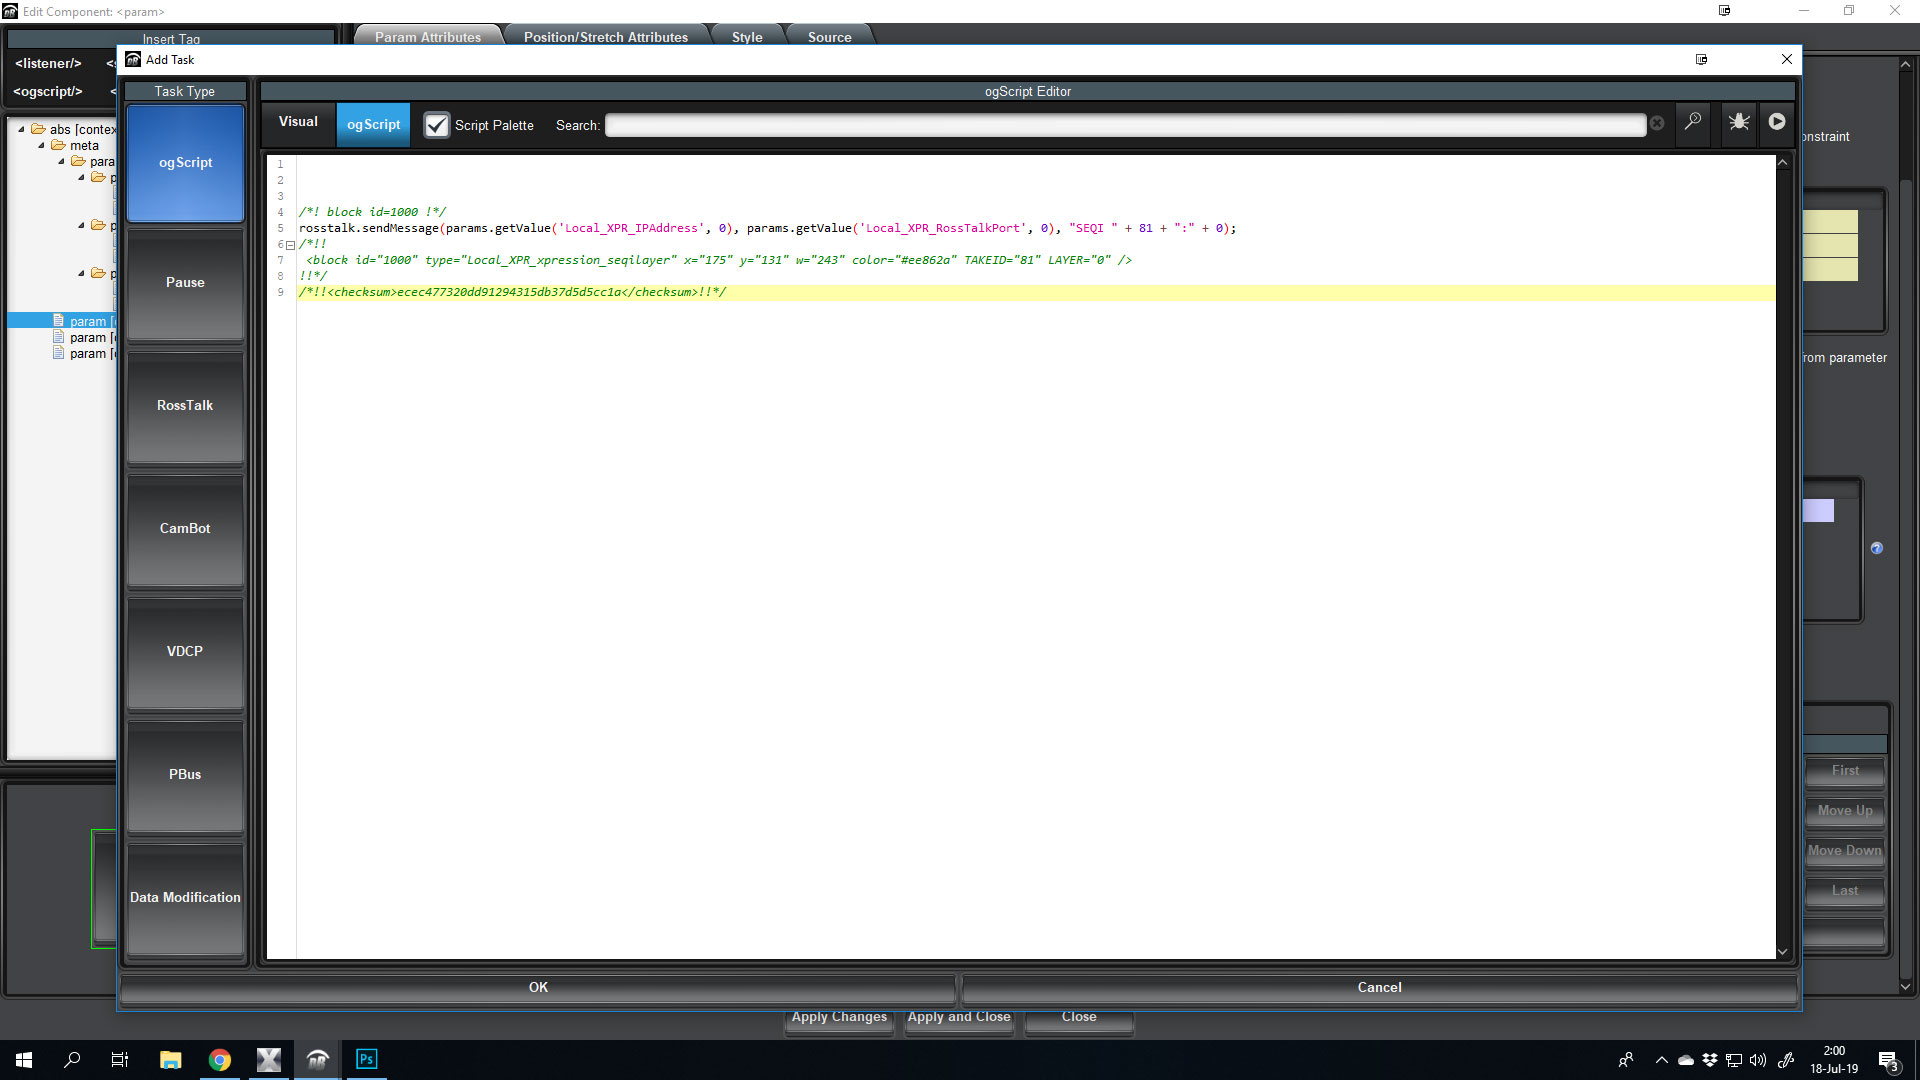
Line 5 is what we're after! (do not edit the text yet).
rosstalk.sendMessage(params.getValue('Local_XPR_IPAddress', 0), params.getValue('Local_XPR_RossTalkPort', 0), "SEQI " + 81 + ":" + 0);
So... If we pick apart that code, we can see that it sends a rosstalk message, to the ip sotred in the "Local_XPR_IPAddress" parameters, and to the port stored in the "Local_XPR_RossTalkPort" parameter.
The message itself is: SEQI 81:0
Now, go back to visual logic (providede you didnt change code), and add the "sequence out", you'll get another line (7 I assume) and it will be prety much the same, but the message of the RossTalk command will be SEQO 81.
So, with that known, let's build a code that gets the value of the button (as in what state it is now in), and what the code should do from there on. Let's also add some variables, so you can easilly change what TakeID that button will affect.
Remove the all green text/comments, as we dont really need it, but leave the two lines of code with SEQI and SEQO commands.
First, let's get the current state of the button.
var x = this.getValue();
This will store whatever the state of the button ends up with on a press, as the variable x.
Now let's declare another variable that sets what TakeID will be used. Let us also store what layer it should be taken into.
var x = this.getValue();

var takeid = 81;
var layer = 0;
Having these stored easilly at the top, will let us copy/paste this code and reuse easily later.
Now, on to checking the state of the button. Now, a task will execute every time a parameter IS changed, but it will happen AFTER the parameter is changed, so if button is pressed, it will change from value 0 to value 1, and THEN run the code.
So, with that in mind, let's check what value the parameter is on a change, and act accordingly.
var x = this.getValue();

var takeid = 81;
var layer = 0;

if (x == 1) {
   // Do something when turned on...
} else {
   // Do something when not turned on. Can only be off in this case.
}
Now, take the code we got earlier from the visual logic examples (and I hope you still have them in the code), and paste them into the correct if and else block. If the value is 1 we want the SEQI line, and if it's not 1, it must be 0, and we want the SEQO line.
You also want to change the parts there it says 81 into takeid and where it says 0 to layer.
In the end you'll have this:
var x = this.getValue();
var takeid = 81;
var layer = 0;

if (x == 1) {
   //Do something when turned on...
   rosstalk.sendMessage(params.getValue('Local_XPR_IPAddress', 0), params.getValue('Local_XPR_RossTalkPort', 0), "SEQI " + takeid + ":" + layer);
} else {
   // Do something when not turned on. Can only be off in this case.
   rosstalk.sendMessage(params.getValue('Local_XPR_IPAddress', 0), params.getValue('Local_XPR_RossTalkPort', 0), "SEQO " + takeid);
}
And that's it... You've replaced the 81 and 0 with the values stored in the variables at the top. And you can reuse this code for all the toggle buttons you want, as long as the values of the parameters that button reads from is 0 and 1, and you just change the variables (line 2 and 3) to reflect what takeid and layer you want it on.
#DashBoard